
")
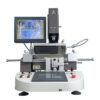
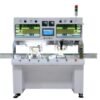
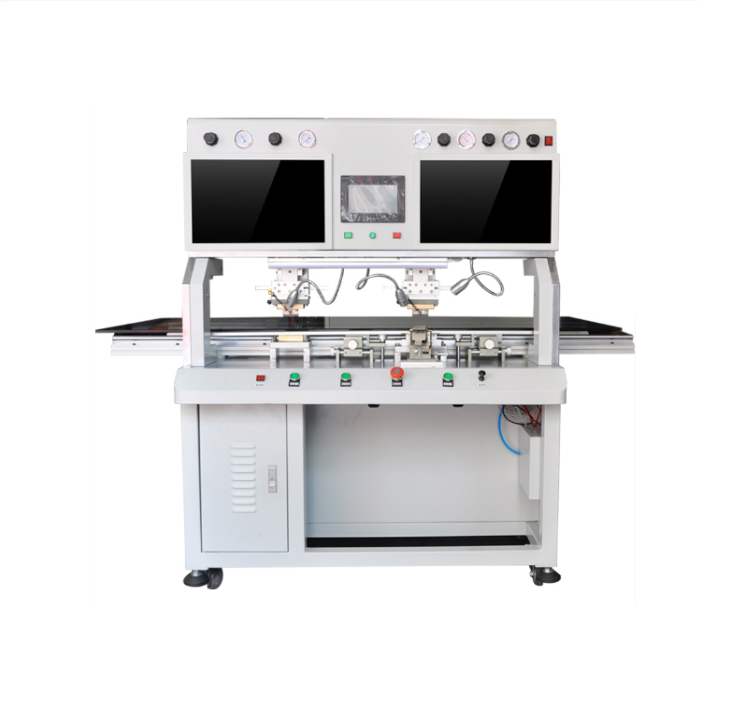
Overview
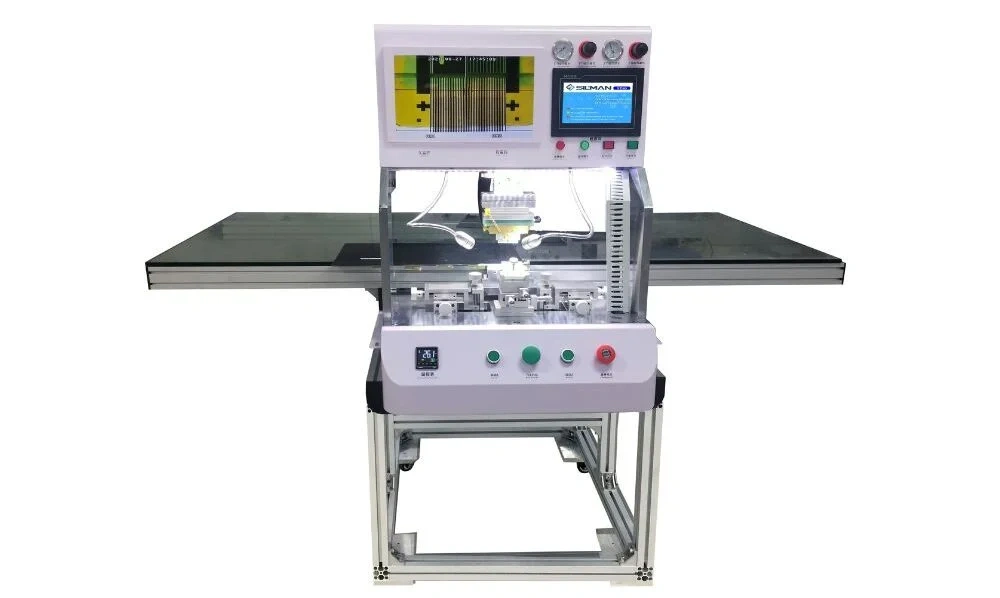
This equipment are suitable for variety of FPC / COF / TAB and LCD or PCB board combination bonding. It is a professional high precision repair equipment for repairing 2K, 4K and curved screen different sizes of LCD screen cable damage or natural fall off. Can repair TV panel Upto 100 inch.
Operation manual:
1. Start:Press “Power” to start the machine
2. Parameter adjustment Adjust all kinds of parameters to appropriate one,including position air pressure(0.04 is suggested),upwards pressure(0.32 is suggested),downwards pressure (0.28 is suggested)
3. Cleaning Clean crystal bar,hot press head ,double size of glass electrode to make sure no stains and dusts
4. Mode selection Select right mode based on the pressing object (PCB or TCP)
5. Hot press head alignment Press “Alignment” to move the hot press head press down,move the camera to make the image of hot press head at both LCDs are parallel. Press “Alignment” again to make the hot press head reset.
6. Glass electrode alignment Put the glass electrode on crystal bar, move and adjust glass to make electrodes at both end are parallel. Press “Alignment” to make the hot press head and glass electrode overlapped,then press “Vacuum Absorb” to make glass and platform position fixed.
7. Pre-Bonding ①. Clip TAB and place TAB at the range of LCD’s electrode. Click “Pre-Bonding” on touch screen to move the hot press head and then click”Heating’.After temperature reaches to 40°C-100 °C, click”Pre-Bonding” to move the hot press head up.(The temperature can not be too high) ② Clean glass electrode (The cleaning can only be done in one direction and the cotton swab need to be spun ) ③Peel off the paper cover of ACF and place TAB on the glass electrode precisely. ④Check whether TAB is horizontal and then make TAB electrode and glass electrode overlapped by Left& Right adjustment.(Notice: Electrode deviation is unavoidable.How to alignment depends on deviation range. Remember deviation range, then you can do alignment well; TAB electrode will inflate after heating) ⑤ Press”Pre-Bonding” to move hot press head down and observe if TAB position is moved.If it is moved, then adjust the position, if not,then heating (40°C-60 °C) to make both electrodes slightly fixed.
8. Press ① Place silicon on the glass electrode, change”manual” to “Auto”on touch screen, then press “Start 1” and “Start 2” at the same time, the machine starts( it will run as the previous settings).Then bonding finished. ② Loosen fixture after glass bonding finished. Clean PCB electrode,peel off paper cover of ACF on TAB electrode and overlap TAB electrode and PCB electrode by microscope. ③ Press “Alignment” to move hot press head down. Hold the hot press head by hand and move the glass at the same time to overlap edge of TAB and edge of hot press head. ④ Place Teflon,click “rightwards” . Change”manual” to “Auto”on touch screen, then press “Start 1” and “Start 2” at the same time, bonding finished.
| Device Model | ST-B100DW |
|---|---|
| Specification | Double Head |
| Support Max LCD size | 100 inch (Can be customized) |
| Heating mode | Pulse heating |
| Working precision | ≤±0.01mm |
| Working capacity(PCS/HOUR) | 45PCS |
| Machine size | 1800mm (L) ×1200mm (W) ×1400mm(H) |
| Input Power | AC220V±10%,50-60 Hz |
| Rated Power(W) | 4000W |
| Work pressure | 0.4-0.8Mpa |
| Operation mode | 7inch touch screen control |
| Alignment system | 2 High definition C/LCCD camera |
| Temperature error range | ±0.5°C |
| Programming control device | PLC controller |
| TAB fixture | micrometer X, Y, Z Axis adjust |
| Platform moving | Manual operate |
| Hot press head size | Left:2.0mm*50mm;Right:1.2mm*5 0mm |
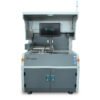
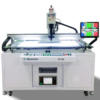
- Rework Process Inspection Camera
")